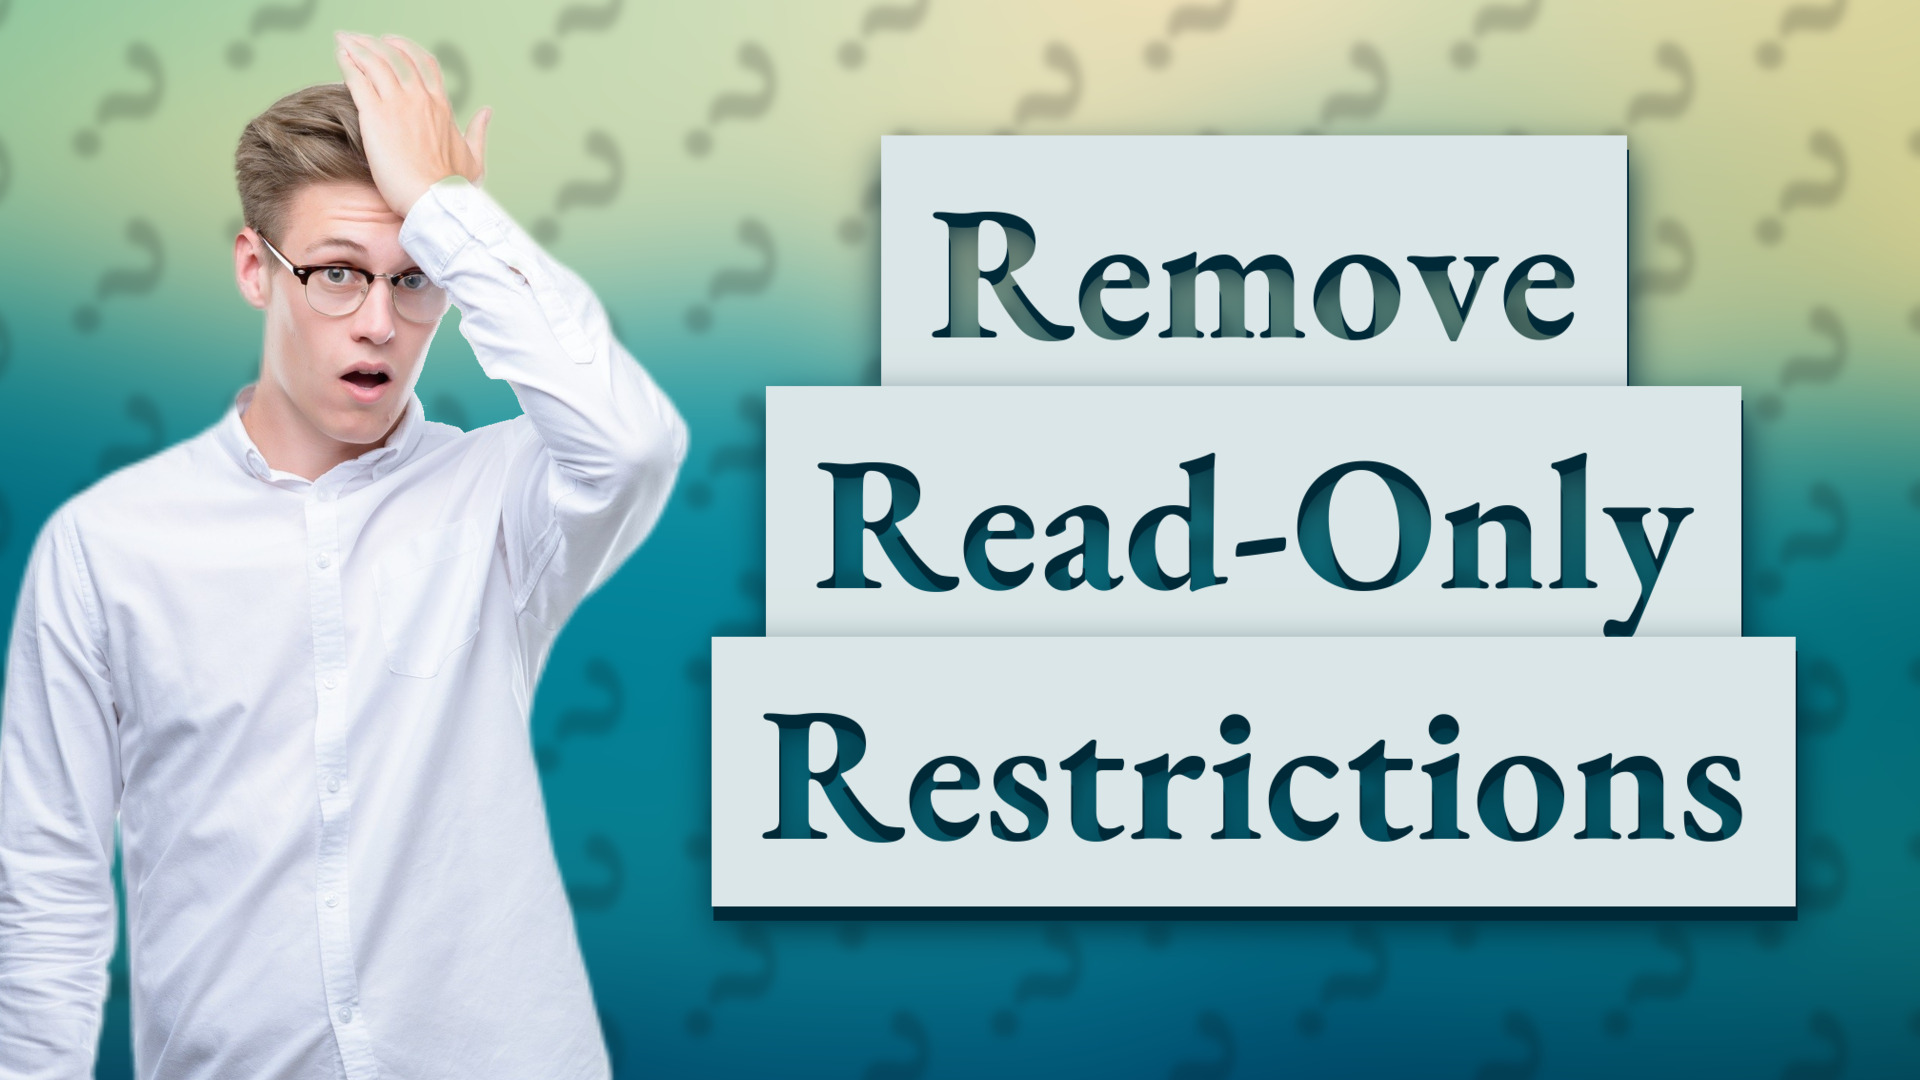
How to Change a Document from Read-Only to Normal Editing Mode in Windows
Learn how to easily remove the read-only attribute from your files and enable normal editing in Windows with this simple step-by-step guide.
Video transcript
To change a document from read-only to normal, follow these steps: 1. Right-click on the file. 2. Select 'Properties'. 3. In the General tab, uncheck the 'Read-only' attribute. 4. Click 'Apply' and then 'OK'. This should allow normal editing permissions.
Questions and answers
What does read-only mean for a file?
A read-only file is protected from being modified or deleted, meaning you can view its contents but cannot make changes unless the read-only attribute is removed.
Can I change read-only settings on files in Windows?
Yes, you can change a file's read-only attribute by right-clicking the file, going to Properties, and unchecking the Read-only box under the General tab.
Why can’t I edit a read-only file even after unchecking the attribute?
This could be due to file permissions, being opened by another program, or network restrictions. Ensure you have proper permissions and close other applications that may be using the file.
Related questions
Continue exploring
If you found this guide helpful for changing your file from read-only to normal editing mode, be sure to check out our other tutorials on managing file permissions and troubleshooting common Windows file access issues. These guides can help you optimize your workflow and avoid similar problems.
 0:36
0:36Unlock Read-Only Mode: A Step-by-Step Guide
Learn how to unlock read-only mode for documents quickly and easily. Follow these simple steps to gain editing access.
 0:42
0:42Why Is My Word Document Suddenly Read-Only? How to Fix It Quickly
Learn why your Microsoft Word document is suddenly read-only and how to remove read-only status with easy troubleshooting steps.
 0:31
0:31Why Does My Word Document Say Read-Only and How to Fix It?
Learn why your Word document shows as read-only and discover easy ways to enable editing and regain full access.
 0:32
0:32Why Is My Word Document Read Only and How to Fix It?
Learn why your Word document is read-only and simple steps to remove restrictions for editing. Fix read-only issues easily.
 0:36
0:36Why Is My Word Document Suddenly Read Only on Mac? Troubleshooting Tips
Learn why your Word document on Mac is read-only and how to fix permission settings, file location, and cloud sharing issues easily.